











Hello, your privacy is important to us. Uniview websites use cookies to store info on your device and create the most secure and effective website . By continuing to use our websites, please accept the cookies could be stored on your device, which outlined our cookie policy and privacy policy .






_1036463_651984_0.png)






 X
X
 GLOBAL / ENGLISH


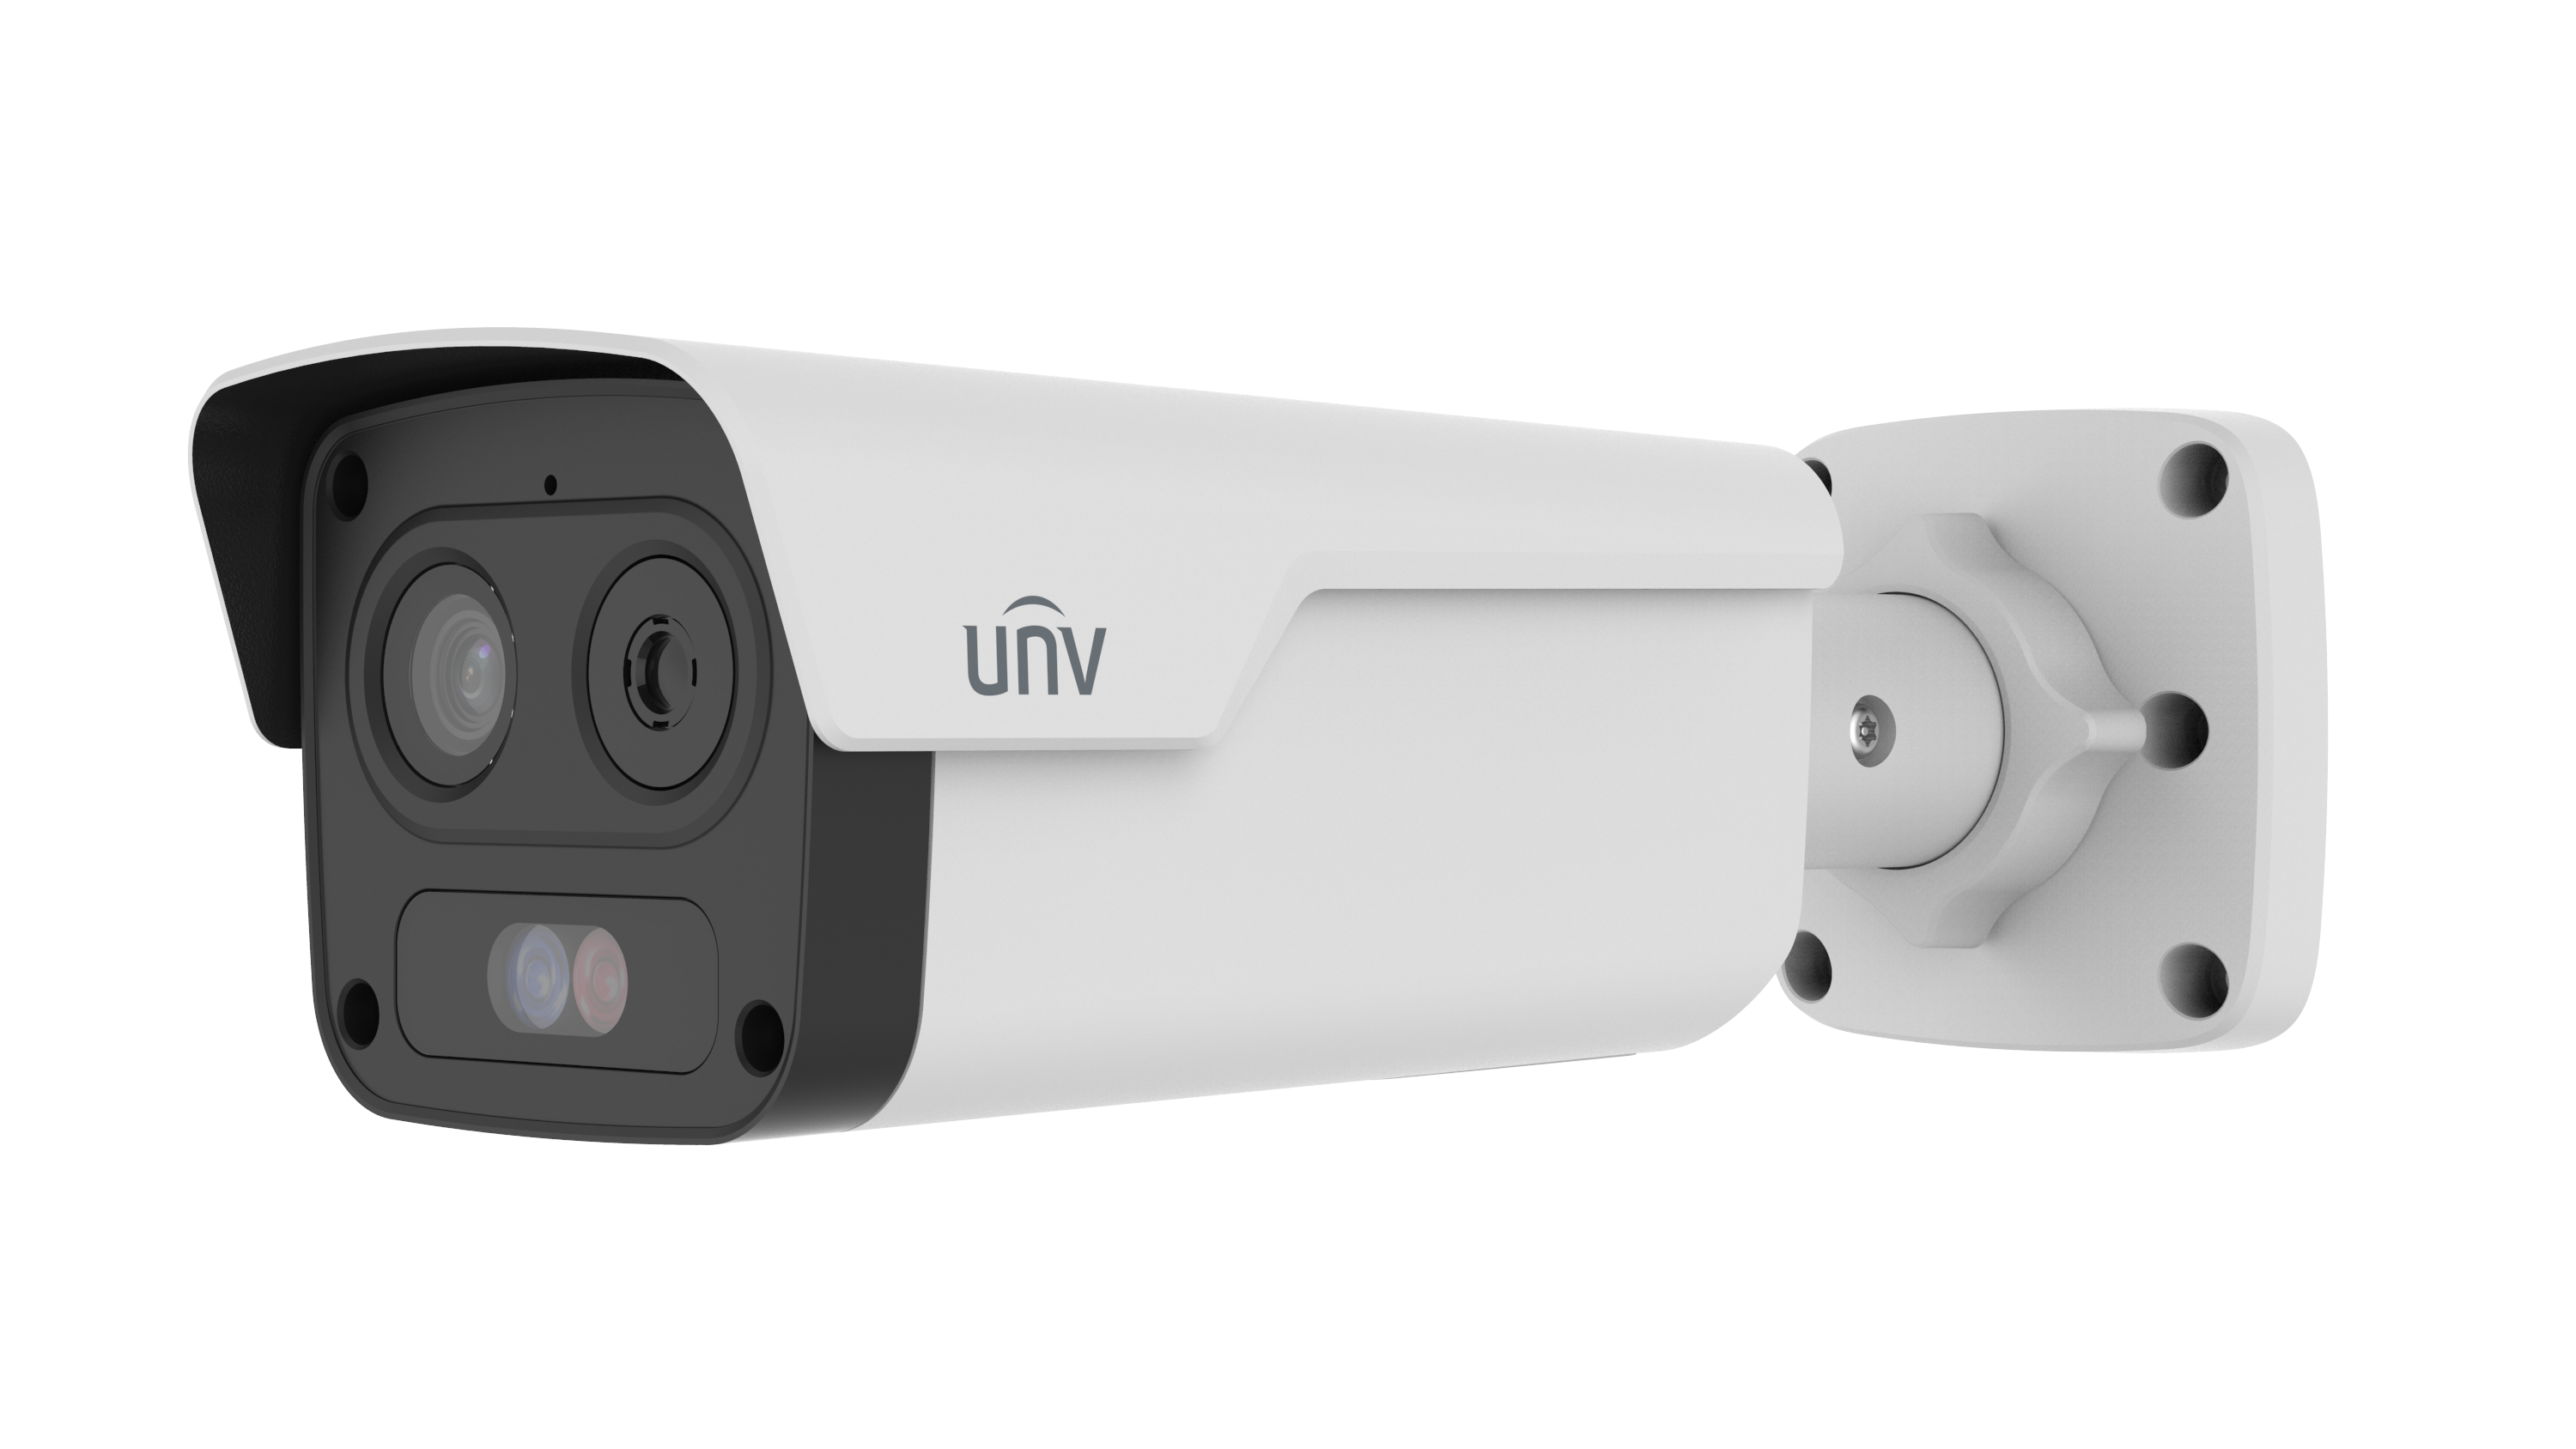
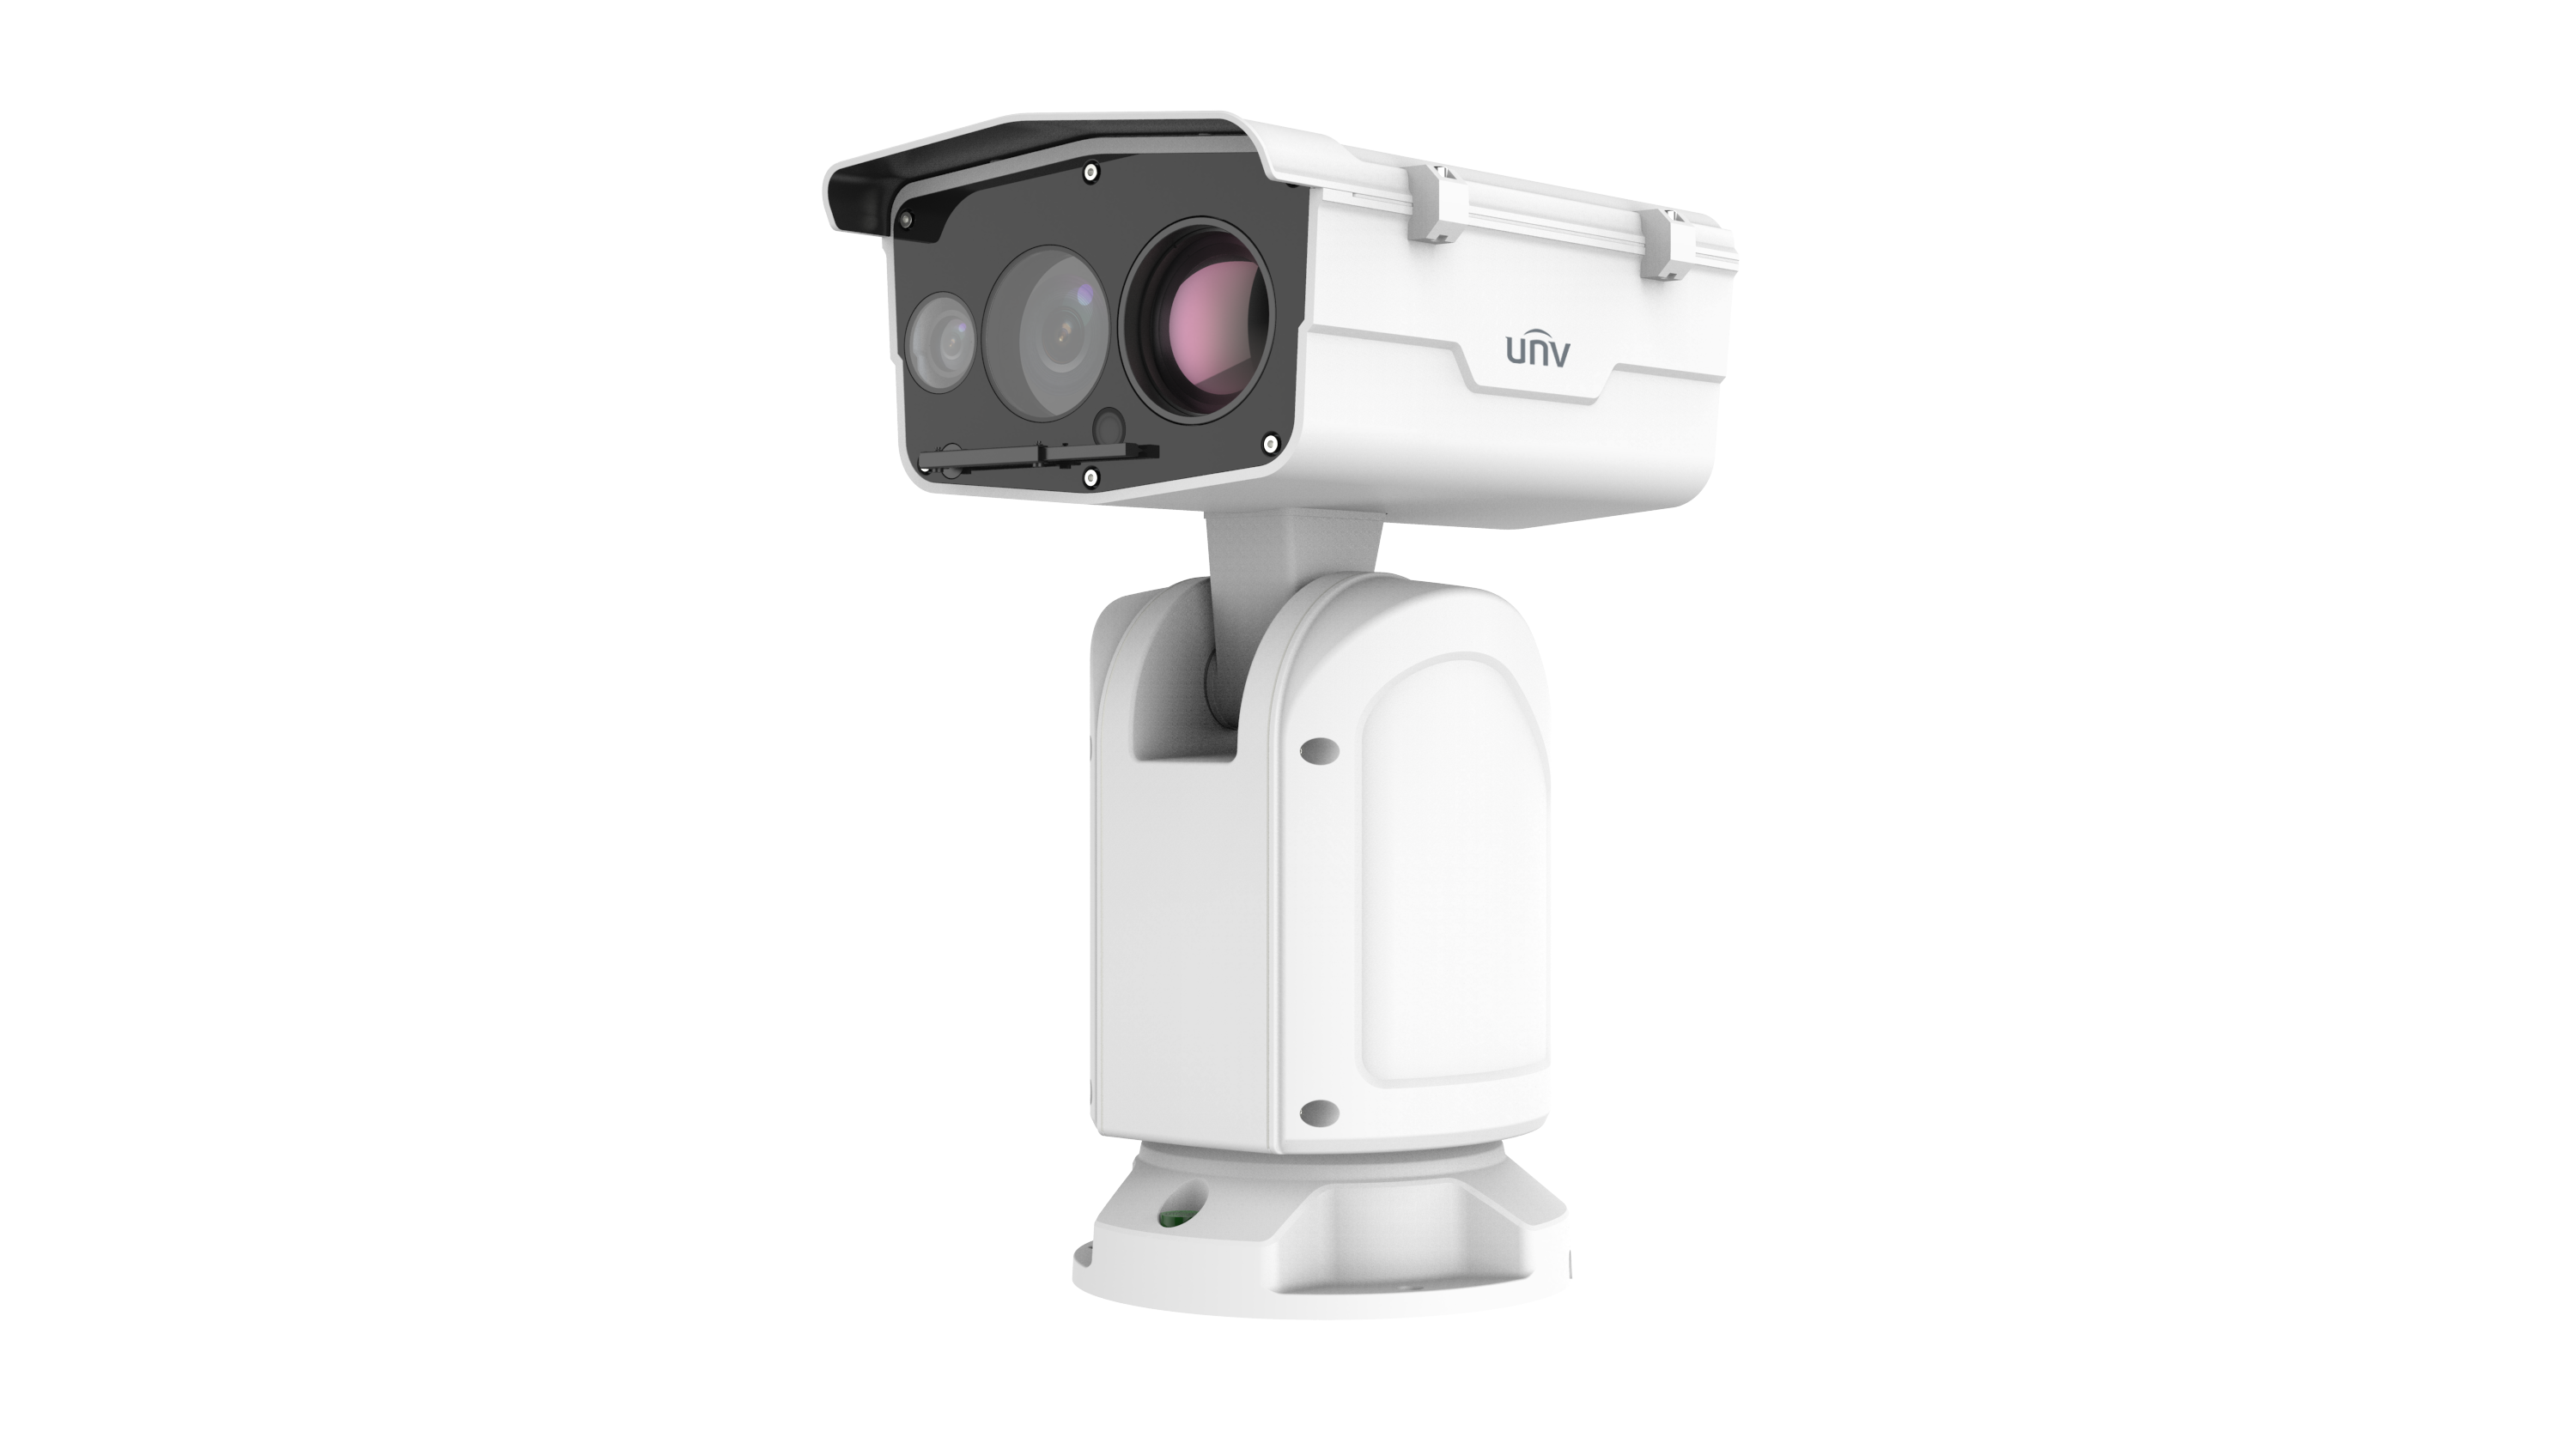
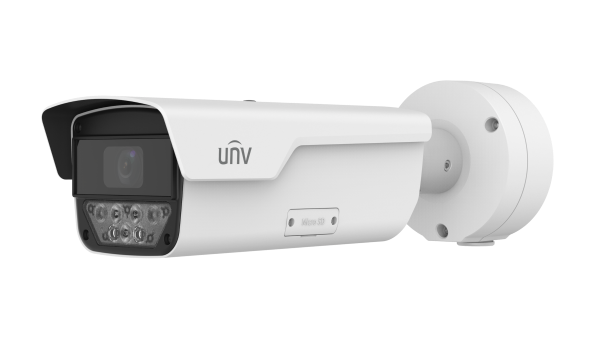
A Night Vision Camera is reliable only when its optics, illumination, viewing angle, and recording settings match the darkest real condition at the site. Resolution alone cannot make that match. A wide lens may show the whole loading area yet leave distant activity too small to review; a bright image may hide motion blur; and a long illumination claim may collapse when light reflects from rain, walls, or vehicle surfaces. The strongest selection process begins with a defined night task and ends with an after-dark acceptance test. That turns a datasheet comparison into evidence that the installed system can preserve useful scene detail when lighting is weak or uneven.

l Define the required scene detail and distance before choosing resolution or focal length.
l Treat sensor size, aperture, shutter behavior, WDR, and illumination as one imaging chain.
l Choose full-color or infrared-style imaging according to available light and acceptable light spill.
Calculate storage with real night footage, then commission the system after dark under normal site activity.
Write one sentence that describes what the image must show, where it must show it, and under which lighting condition. A warehouse doorway may require a clear view of package movement within 12 m while headlights cross the frame. A plant aisle may require equipment-state checks at 18 m with little ambient light. A glass entrance may need stable detail on both sides of the doorway when the interior is much brighter than the exterior. These are different optical problems even when each project uses the same product category.
Map the required zone on a plan and measure the farthest useful point. Record mounting height, expected direction of movement, nearby luminaires, glossy surfaces, vegetation, rain exposure, and cable routes. This short survey prevents a common error: selecting a camera by maximum illumination distance while ignoring how little of the target occupies the final image.
Night image quality starts with the amount of light that reaches each pixel during the exposure. A larger sensor and a wider aperture can collect more light, but the result also depends on focal length, shutter time, sensor design, and processing. Digital gain can brighten a dark frame; it cannot recreate fine detail that was never captured. Too much gain adds noise, which consumes bitrate and may be smoothed into flat surfaces by noise reduction.
Longer exposure gathers more light, yet moving objects travel farther across the sensor while the shutter is open. The frame can look clean when the yard is empty and become soft as soon as a vehicle passes. That is why a still screenshot is not enough for acceptance. Test with normal movement at the far edge of the required zone and inspect playback, not only the live view.
Camera families designed for low-light imaging combine optics and processing for difficult night scenes. Even then, the site must provide enough ambient or supplemental light for the chosen color mode, and the lens must allocate enough pixels to the required zone.
Full-color night imaging, warm supplemental light, and infrared-style imaging solve different problems. Color is useful when vehicle paint, packaging, safety markings, indicator lamps, or other color-coded details matter. Visible supplemental light can preserve that information in very dark areas, but it also changes the scene and may reflect from wet ground or nearby surfaces. Infrared-style imaging avoids visible light spill and works in darker areas, while the recorded image is generally monochrome.
Mode | Best fit | Main trade-off | Night test |
Ambient-light full color | Sites with steady visible light | Color weakens as light falls | Switch normal lights to their lowest operating level |
Warm supplemental light | Color detail in very dark zones | Visible spill and reflective glare | Test wet ground, open doors, signs, and parked vehicles |
Infrared-style | Dark areas where visible light is unsuitable | Monochrome image | Check near-field overexposure and reflective surfaces |
A 2.8 mm lens usually covers more horizontal area than a 4.0 mm lens on the same sensor, but objects appear smaller. The narrower option gives more image area to a distant zone at the cost of context. Do not choose focal length from a generic room label. Ask the supplier for the horizontal field of view, then verify the proposed mounting point against the measured site plan. Digital zoom after recording cannot recover detail that occupies too few pixels.
Entrances, loading doors, and vehicle lanes often contain a bright source beside a dark region. Wide dynamic range helps keep both regions usable, but the rating is not a substitute for placement. Keep bright lamps and headlights away from the center of the frame where possible. During testing, open interior doors and operate exterior lights exactly as they run after business hours.
For exposed positions, confirm the protection rating, operating temperature, junction-box sealing, cable entry, and bracket material. IP67 addresses dust and temporary water immersion under defined test conditions; it does not correct a poorly sealed connector or water path along a cable. Where impact is plausible, an IK rating adds a separate mechanical check. Also keep the lens away from wall edges, soffits, glass, and metal trim that can throw supplemental light back into the camera.
Night scenes can require more bitrate because rain, noise, moving shadows, and changing light create extra frame-to-frame detail. Estimate retention with the intended codec, frame rate, resolution, quality setting, recording schedule, and realistic night activity. Then record a representative sample and compare the measured bitrate with the design assumption. Include storage margin for busier periods instead of sizing the recorder from a quiet daytime clip.
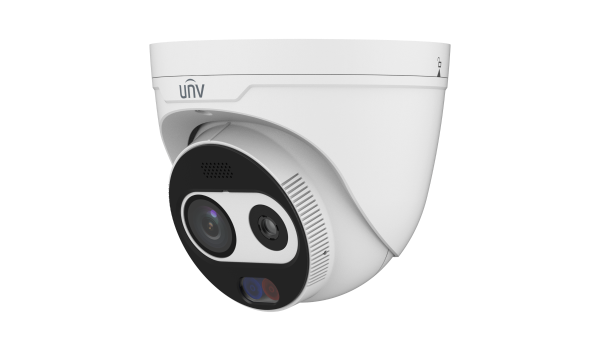
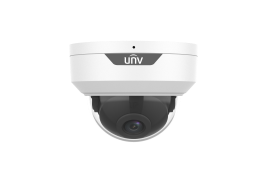
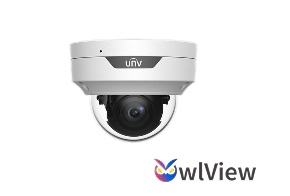
The IPC3524LE-ADF28K-WP is a useful reference for a full-color fixed dome. Its published specifications include 4 MP resolution, a 1/1.8-inch CMOS sensor, an F1.0 lens, color minimum illumination of 0.0003 lux at F1.0 with AGC on, 120 dB WDR, warm light up to 30 m, MicroSD support up to 512 GB, PoE, IP67, IK10, and 2.8 mm or 4.0 mm lens options. Those numbers describe a capable imaging chain; the site test still decides whether it meets the required task distance and lighting pattern.

Specification | Published value | What to verify on site |
Sensor and aperture | 1/1.8-inch CMOS; F1.0 | Motion detail at the lowest normal light level |
Minimum illumination | 0.0003 lux, F1.0, AGC on | Shutter, gain, and color stability during movement |
WDR | 120 dB | Dark and bright zones with doors and site lights operating |
Warm light | Up to 30 m | Useful detail at required distance; glare and spill nearby |
Lens options | 2.8 mm or 4.0 mm | Scene width and target size from the actual mounting point |
Storage and protection | MicroSD up to 512 GB; IP67; IK10 | Retention, enclosure installation, cable sealing, and exposure |
A daytime handover cannot prove night performance. Run the acceptance test after the site reaches its normal low-light state and keep the intended recorder settings active. Save short clips from every test so later adjustments can be compared against the same requirement.
1. Confirm framing. Check the near edge, far edge, and critical zone; remove unnecessary wall, ceiling, or sky from the frame.
2. Create real contrast. Open bright interior doors, switch signs and site lights on, and pass a vehicle through the frame where relevant.
3. Test movement. Review clips at the farthest required point and look for blur, noise smearing, and unstable exposure.
4. Inspect supplemental-light reflections. Check wet ground, pale walls, metalwork, glass, dust, insects, and the inside of a dome cover.
5. Verify the lens choice. Confirm that the required zone occupies enough of the image without losing essential context.
6. Measure recording behavior. Note average and peak bitrate, confirm playback, and recalculate retention with the measured value.
7. Repeat after final installation. Recheck focus, sealing, camera angle, time synchronization, and image quality after all brackets and junction boxes are closed.
l Selecting by resolution first; more pixels help only when optics, light, and target size support them.
l Treating maximum illumination distance as useful review distance; light reach and scene detail are different.
l Testing a static scene; slow shutter settings may look clean until normal movement begins.
l Mounting beside a reflective surface that returns supplemental light to the lens.
l Sizing storage from a quiet daytime clip instead of measured night bitrate.
l Approving without a written task, distance, and lighting condition.
Ask every supplier to complete the same schedule: sensor format, aperture, focal length, horizontal field of view, minimum illumination test condition, WDR, illumination type and distance, supported codecs, frame rate, local storage, recorder compatibility, operating temperature, ingress rating, impact rating, power method, bracket, and junction box. Add the site task distance and mounting height to the request so the response addresses the application rather than repeating a brochure.
For larger rollouts, request a sample night clip or a small on-site trial before freezing the standard. Keep the approved settings, firmware version, lens option, mount, and recorder profile in the handover package. Uniview's technical articles can support product education, but approval should remain tied to the measured site condition and saved acceptance footage.
It can be, provided the required zone occupies enough of the image and the sensor, aperture, shutter behavior, and light level preserve detail during movement. A 4 MP model with suitable optics may produce a more useful night result than a higher-resolution model in the same dark scene. Compare recorded clips from the intended mounting point instead of judging pixel count alone.
Set the distance from the site task. A doorway may require useful detail within 8 to 12 m, while a loading area may require context farther away. Illumination distance does not guarantee the same level of detail across that range. Verify focal length, field of view, target size in the image, and motion quality at the farthest required point.
Choose full color when color-coded details matter and the site has enough visible light or accepts warm supplemental light. Choose infrared-style imaging where visible spill is unsuitable or the area becomes very dark. In either case, test reflections, motion, and the darkest normal condition before approval.
Uniview offers network cameras, NVR storage, and related display products for commercial and industrial projects. For a night-camera shortlist, share the site plan, task distances, lighting pattern, mounting points, retention target, and preferred lens options with the project partner. Confirm local product availability and support arrangements before the model list is finalized, then make the after-dark acceptance test part of the purchase specification.